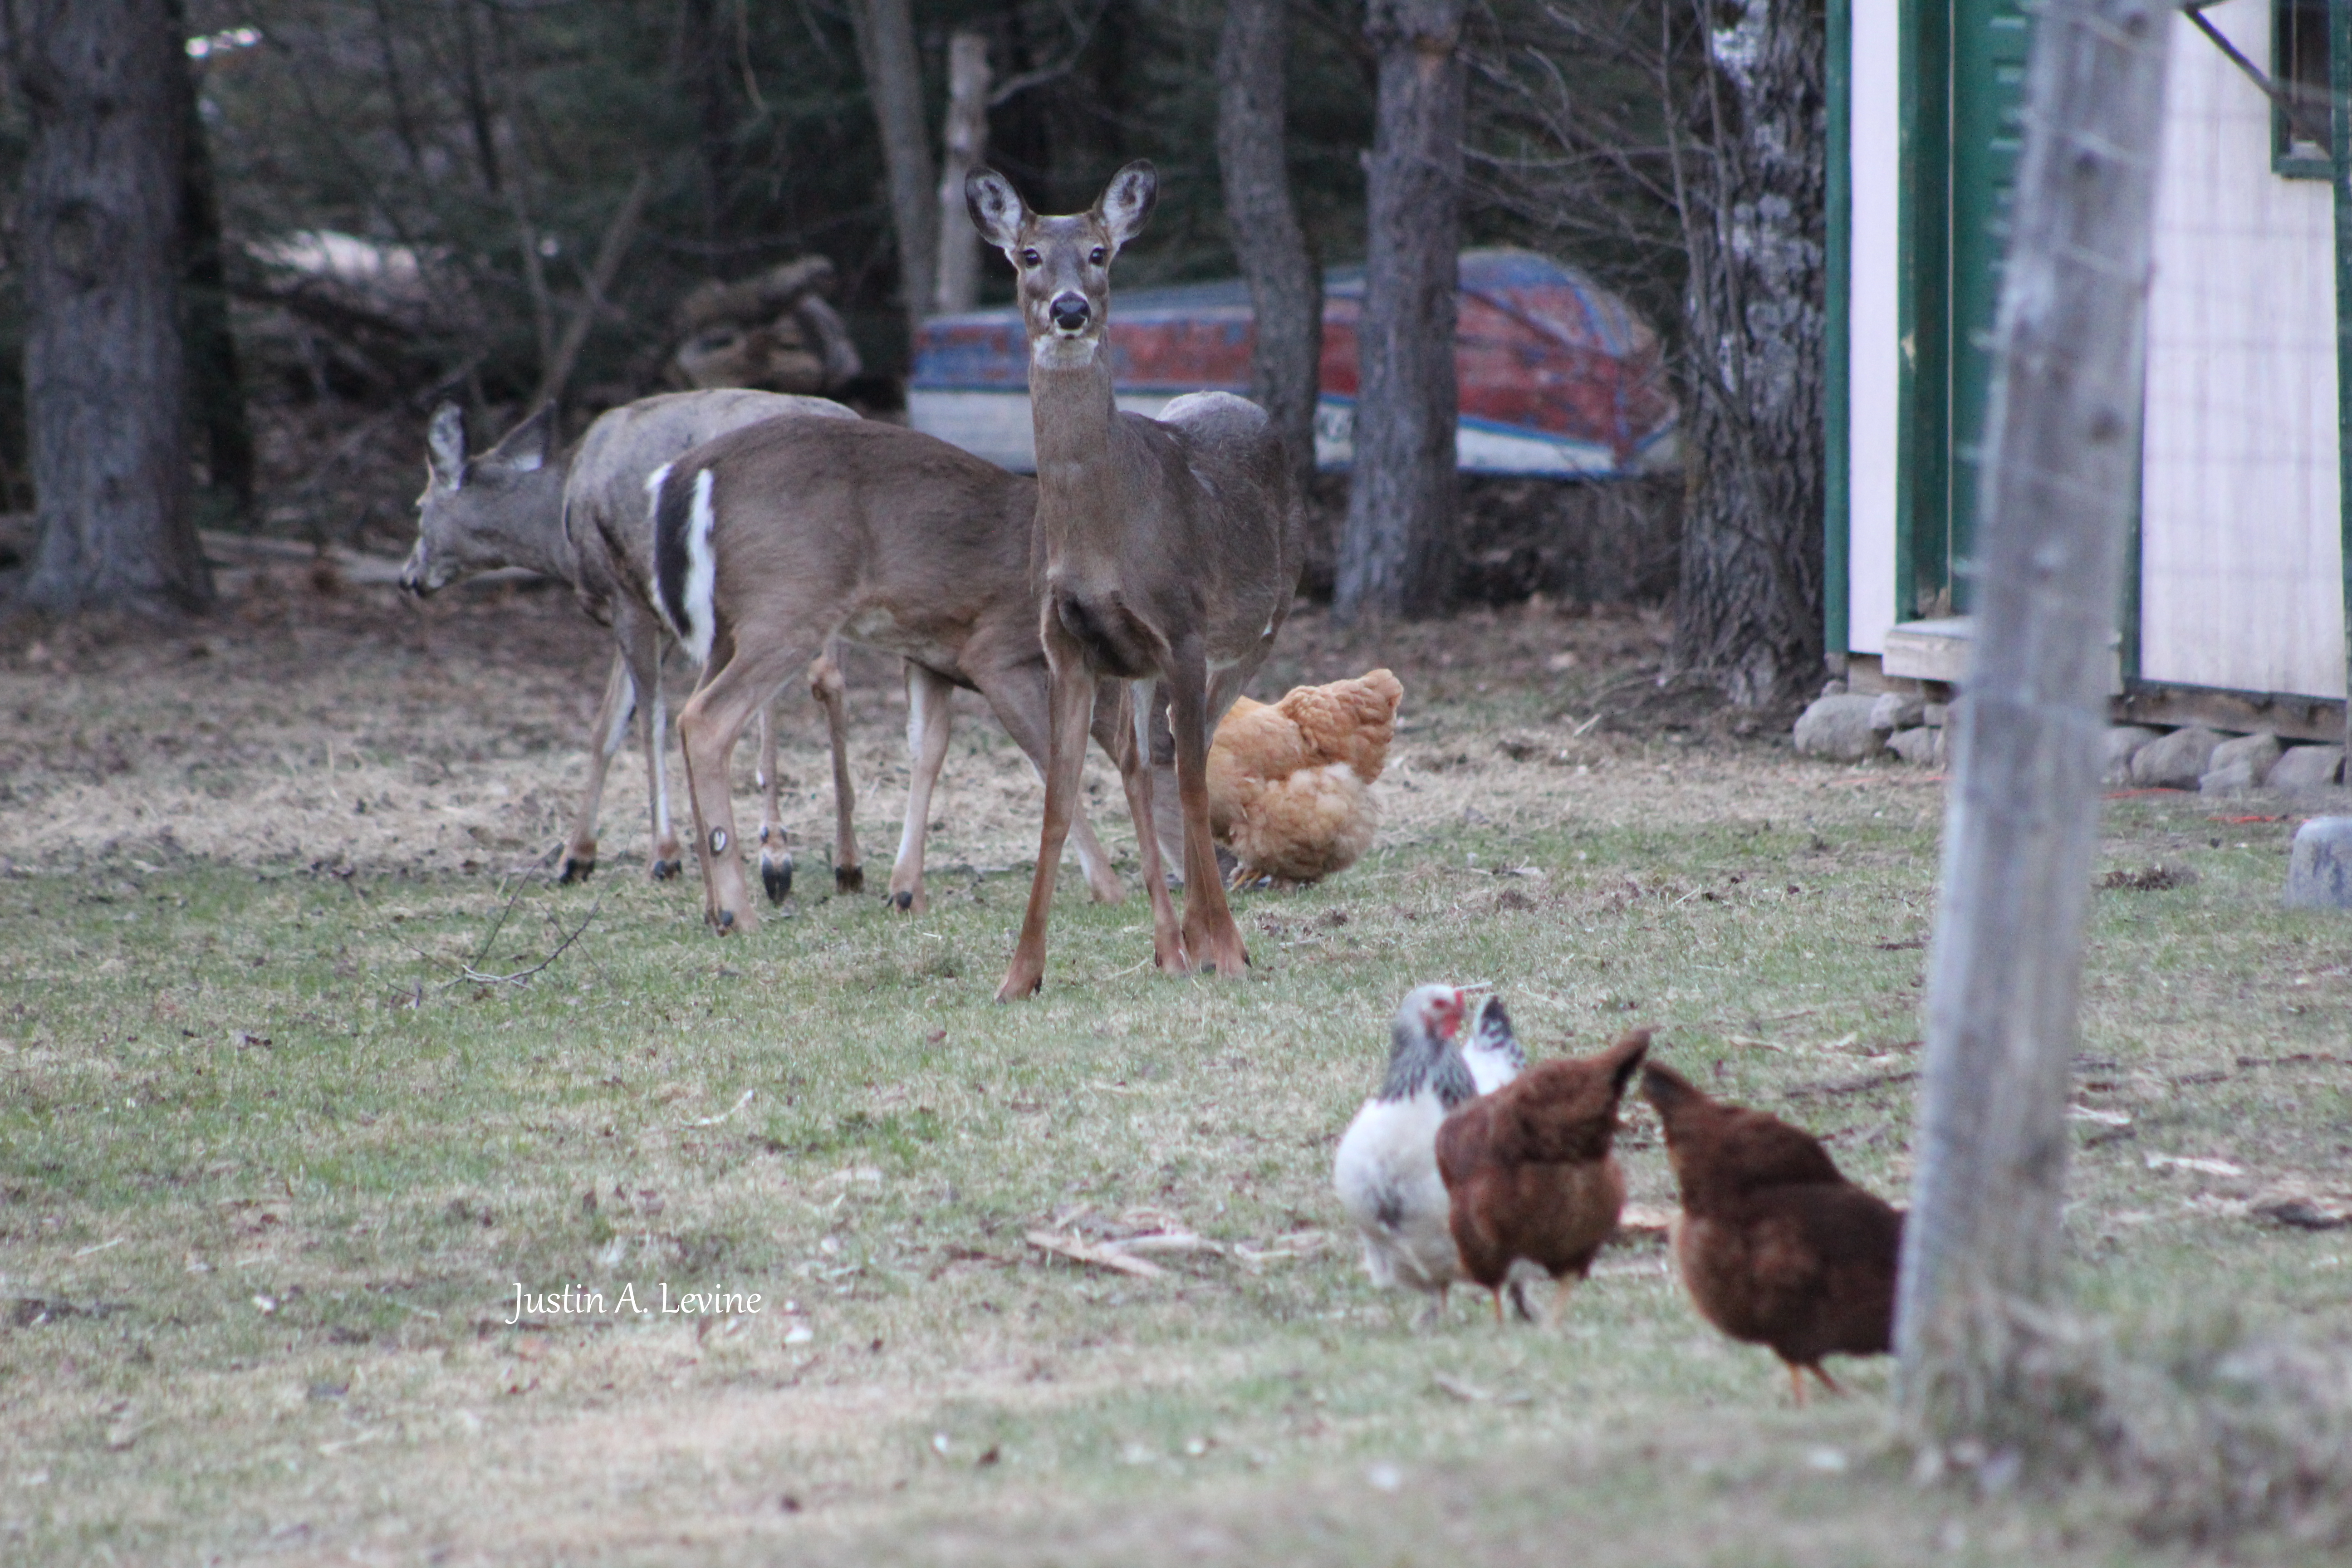
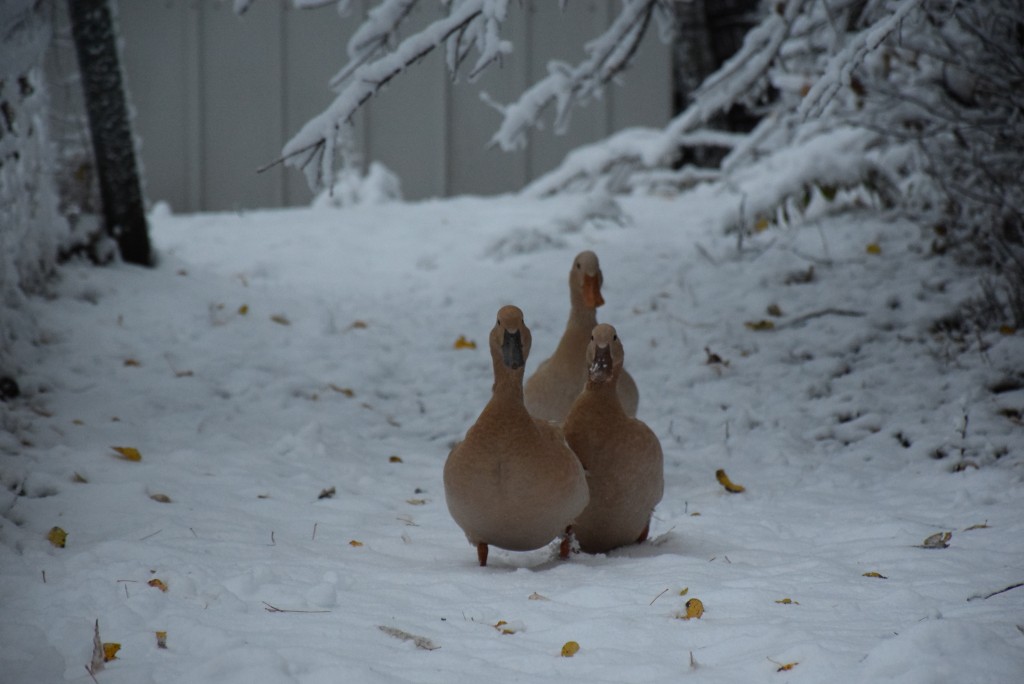
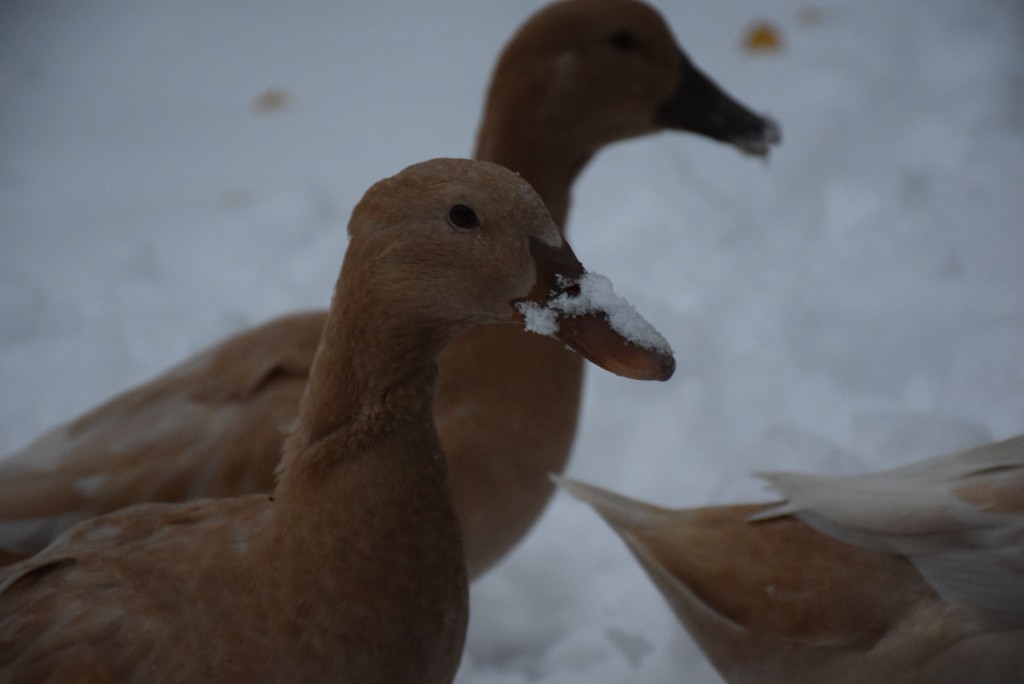
This is a pretty common scene at the homestead
Tag Archives: nature
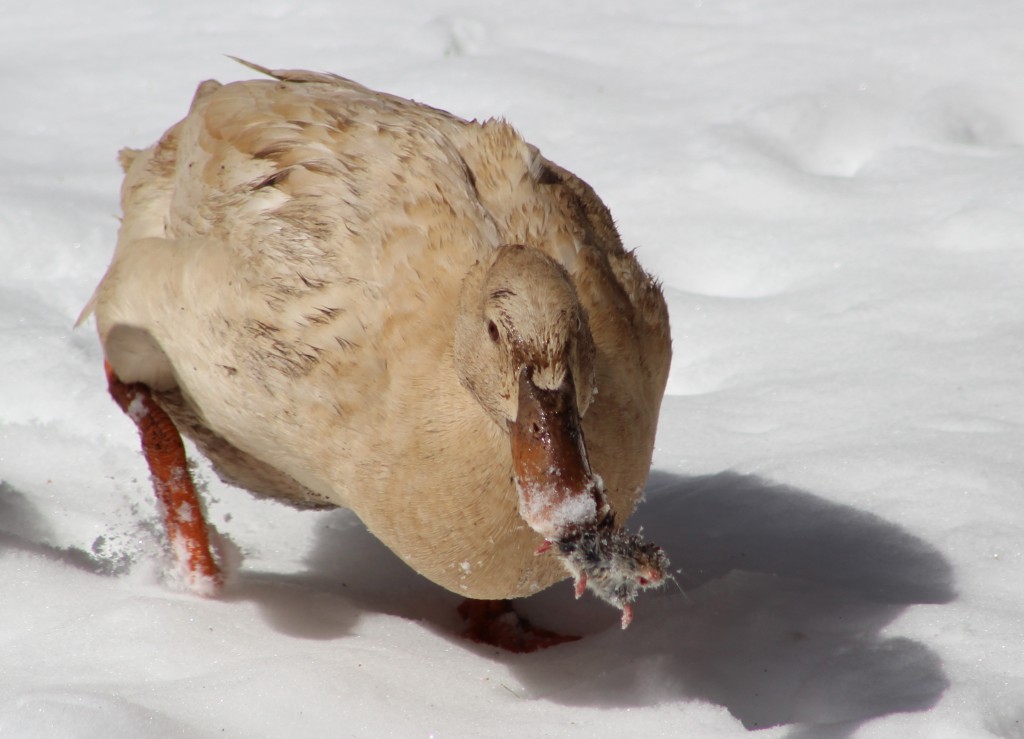
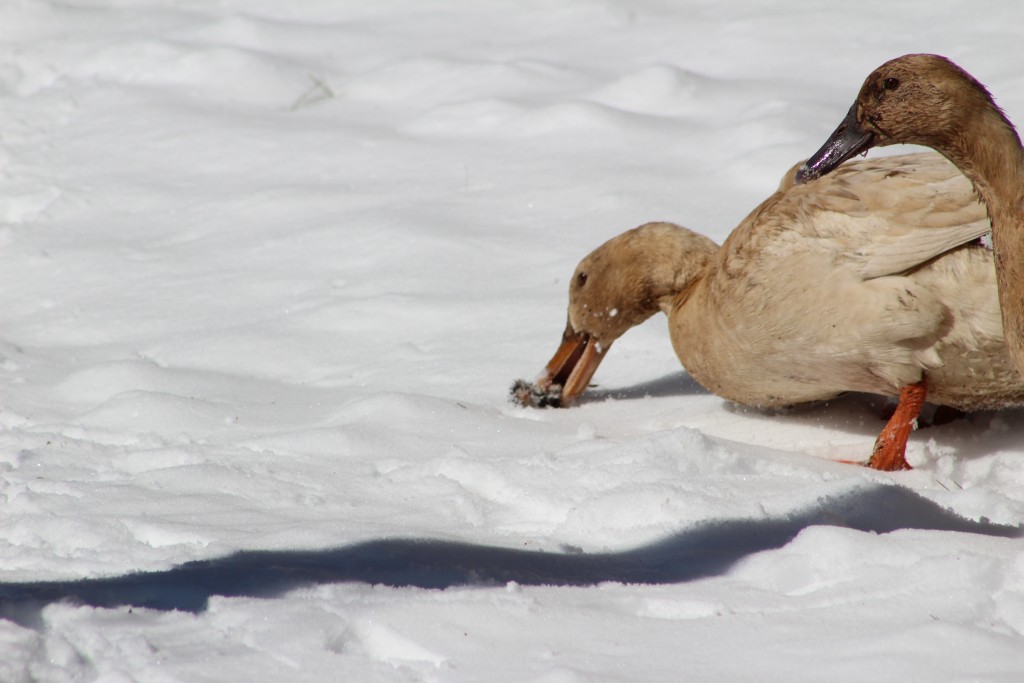
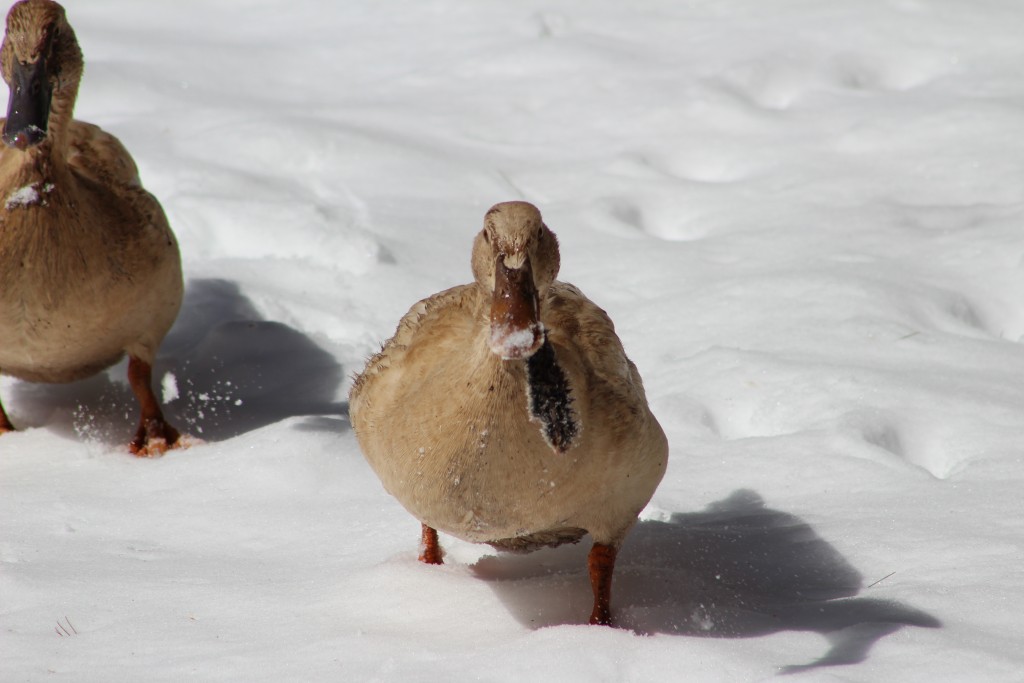
The ducks and the mouse
Dix Mountain range from Round Mountain
First snow
We got some heavy, wet snow last night and with the leaves still on the trees, it’s caused quite a mess. We lost three of our five apple trees that are producing, including hundreds of apples that hadn’t ripened yet, and about 30 other smaller trees plus a bunch of branches. Didn’t lost power, and no real damage to anything.
The ducks, though, are unfazed.
Happy Spring Everyone
Hi all, I know it’s been a while, and I am really sorry about that.
So, to catch you all up, I’ve gotten married, moved onto a great homestead and am working as the outdoors writer for the Adirondack Daily Enterprise. I promise to do a better job going forward of detailing our homesteading experience.
Anyway, to help soothe over any hard feelings about my lack of effort on Middle of the Trail, here’s a picture of our new ducklings, Forbin and Ophelia.
Out of Prison and Into the Woods
I was recently interviewed by the Buffalo News for an article on the challenges that two escaped killers face in the woods of the Adirondacks. The article gives great insight into their mental states, and helps explain why they have been able to be elusive for so long. You can read the full article here:
Be sure to like Middle of the Trail on Facebook and follow me on Instagram for more pictures and daily updates and follow @JustinALevine for whatever it is I do on Twitter.
The Homestead – #4
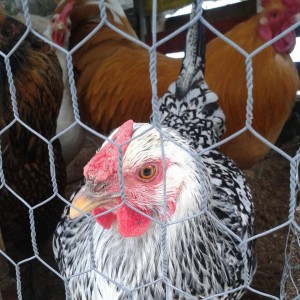 Well, no one can ever say that I have never had my finger inside of a live chicken. While there’s not a ton going on at the homestead this time of year, the chickens have been keeping me pretty busy. But tonight takes the cake.
Whitey was acting strange all day. She’s usually the sketchiest one of the girls, so her allowing me to pet her was definitely out of the ordinary. With her being so lethargic, I decided that it would be best to bring her inside for the night. She can be warm and get plenty of rest, plus if she had something contagious this will hopefully keep the other birds from getting it.
I did some research and found that the three most common issues would be mites, worms, or being egg-bound. I checked her for mites and was good there, and I have to wait for her to poop to check for worms, so the next thing on the list was to check for a stuck egg.
I felt her belly and didn’t feel an egg or anything abnormal, so the next way to see if she has a stuck egg is to reach inside and feel. I enlisted my nine-year-old step son to help and we scooped her up. I put on a latex glove and smeared some medical lubricant on my finger. We parted the feathers around Whitey’s vent and as he giggled nervously and backed up a couple of steps he commented that her vent looked like a mouth. He didn’t get any closer.
I felt up inside the vent to see I could feel an egg, and found nothing. I still have to check for worms in the morning, but am hoping she just had a rough day and wasn’t feeling well. I doubt very much that my finger helped, but we won’t really know until tomorrow.
With the unrelenting cold forcing the chickens to stay inside more than normal, we’ve had some behavioral issues as well. Stella had taken to eating her own and the other hens’ eggs. She was definitely the instigator, trying to get to eggs that hadn’t even been laid yet by pecking at the other hens as they laid in the nesting box. But once the eggs were cracked, it was a noisy free-for-all that left all the chickens with with yolk on them.
This was a problem for the obvious reason that we were getting only an egg or two a day, and also in the nasty behavior department. They had plenty of water, and the eggs we were getting had rock-hard shells so it wasn’t a calcium deficiency. Sometimes an egg will just break on it’s own and once they get a taste, the chickens can’t help themselves.
But since it was such a serious issue and not a random egg now and then, I had to take action. I checked the coop as often as I could, and made sure they had more than enough food and water, as well as giving them supplemental treats like mealworms and fresh greens. Nothing I did for the first couple of weeks worked.
So I ordered some fake eggs, made of ceramic. They arrived and looked exactly like the eggs Brownie lays, and best of all, they are rock hard. They’re so realistic that I added a big “F” to each egg in permanent marker so I could tell they weren’t real eggs.
I opened the coop and tossed the two fake eggs into the corner area where the girls lay. Immediately Stella came over and started checking them out. She eyed them all sorts of ways, tilting her head this way and that. Suddenly, she took a shot and pecked one of the eggs.
Her beak and head bounced off the egg with a loud and sharp “crack.” She once again eyed the eggs and then wandered off. The next morning there were four real eggs in the corner in addition to the two fake ones, and we’ve been getting between four and six eggs a day ever since. I may have to occasionally stick my finger into a chicken butt, but at least now I can keep getting eggs in return.
Be sure to like Middle of the Trail on Facebook and follow me on Instagram for more pictures and daily updates and follow @JustinALevine for whatever it is I do on Twitter.
Follow me on Instagram!
Welp, I finally got one of those fancy phones with a camera and the ability to connect to the internet. So if you’re interested in seeing lots of pictures of chickens and hiking trails, follow me on Instagram at @JALEVINE6
Oh, and if you follow me, I will follow you back!
Be sure to like Middle of the Trail on Facebook for more pictures and daily updates and follow @JustinALevine for whatever it is I do on Twitter.
The Homestead – #3
 The snow has come and gone, and then come and gone again. It’s been a wet fall but with the transitions from rain to snow and back again, we still don’t have a lot of the white stuff on the ground.
The chickens are happily pecking away in their new coop and run, and I do feel better having them in a fully insulated coop, now that the night temperatures are getting into the single digits. They’re all huddled on the perch, snuggling to stay warm. At least now I can flip a switch and they have heat. Last winter it was warming a piece of granite on top of the woodstove and then running it out there to try and keep them warm. I like that they won’t be in my living room this year. At all.
But the weather has limited the outdoor activities. I don’t mind warm rain or cold snow, but cold rain is annoying. I don’t want to go hiking and there’s no snow for skiing, and with such a little piece of property, even mine and Pico’s walks have to be on the road. It’s not too bad, but he is still getting used to the leash again, and I miss being able to just let him run around unattended.
One benefit of this type of weather though is that I don’t feel too bad doing indoor projects. A couple months ago I made a new cutting board for us and read that it could be sealed with beeswax. I had a huge block of wax around, and so I spent the evening melting wax, rubbing it on the board, and then heating the whole thing in the oven over and over to make a nice sealant for the cutting board.
I used the board the next day, and most of the wax came off when I washed it. Seemed like a good idea, but in reality, it just didn’t pan out. I got some mineral oil and treated the board, and it’s now nice and waterproof. But I still have a huge block of beeswax just hanging around.
So I had to figure out what I was going to do with the wax. I didn’t want to make candles, as I used to make them all the time out at the cabin. I would make them all the time by melting down the little stubs of the candles I burned for light. So as I was sitting on the couch one day, my stepson asked if we had any lip balm. His lips were chapped and he wanted some relief.
I ordered empty lip balm tubes and picked up some peppermint essential oil and coconut oil in town, and waited patiently for the tubes to arrive. And as soon as they did, I thought I’d have my answer of what to do with all that beeswax. Making the lip balm should have been really simple. Melt the oils and wax together, pour it into the tubes, and let them cool.
I would have done the whole melting process on my woodstove, but hey, now I have a microwave! We gathered all the materials, and he was pretty excited. After making him wash his hands a couple of times (who knows what a nine-year-old is doing when out of sight) we got into it. After thirty seconds in the microwave, the beeswax was barely melted, but that was apparently enough for the microwave. It was dead. It was also bad timing, since I had promised this kid his very own lip balm.
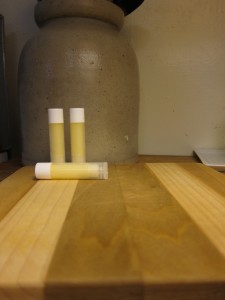
We moved to the range top and managed to melt enough to make a few tubes of the lip balm. It’s got a menthol-coconut taste that all three of us love, and it actually works really well. Plus, since it’s in tubes, he doesn’t have to stick his nasty fingers into the stuff to put it on.
I love having the convenience of modern appliances, and the fact that whole process didn’t require a headlamp was a really nice touch. But I was reminded of the fraility of those electronics. Sure, it would have been slower to do this on the woodstove, but at least the woodstove wouldn’t have died in the middle of it.
Be sure to like Middle of the Trail on Facebook for more pictures and daily updates and follow @JustinALevine for whatever it is I do on Twitter.
Storing and Saving Seeds
When you already have a garden, one of the best ways to benefit from it long-term is to save and store the seeds that your garden produces. Instead of buying seeds every year to plant, why not just save a few from each plant and use them again next year?
Of course, some plant seeds stay and store better than others. Also, letting certain plants get to the point where they are producing seeds can mean that they are not all that useful for consumption. But you can always plant an extra one or two and allow them to go to seed. Most plants produce more than enough seeds for you to have a viable garden the following year.
Aquatic plants and large-seeded plants (such as oak, avocado, etc) are very hard to store. Larger seeds tend to need a fair amount of moisture to remain viable, and the amount of moisture required will lead to fungal growth and rot in a short period of time. If you have oaks around, harvest the acorns and make nut butter right away. Let the squirrels bury the seeds for you, and you’ll have some new trees in a few years.
These seeds, unfortunately, really need to be planted right away in order for them to germinate. However, there are a wide variety of seeds that you can save all winter long, and maybe even for more than just a single winter.
Small seeded plants, like most garden vegetables, are relatively easy to save. These seeds are what’s called desiccant-tolerant. This means that they are able to survive and remain viable even when dried out.
Peas, carrots, beans, and herb seeds are all very hardy seeds that can handle being dried and stored for long periods of time before they lose their viability. However, you do have to be careful how you handle, dry, and store the seeds. You can’t just grab the seeds off of the plant, throw them in a baggie and then plant them next spring. Well, you could, but there are ways to improve the chance that those seeds produce healthy plants for your garden.
Seeds, like any other organic matter, are subject to rot if not handled properly. The reason an individual plant produces so many more seeds than is necessary is due to evolution. This adaption takes into account that a large portion of any seeds produced will either be eaten, rot, or not survive until adulthood.
By properly drying and storing those same seeds, however, you can greatly increase the amount of usable seeds you have. One individual plant will produce more seeds than you could possible use before the seeds are no longer any good.
The first and most important step in preserving seeds is drying them. In nature, most seeds spend the winter months frozen in the ground, where the ice crystals actually make the ground very dry. The seeds should be spread out in a shady, cool, dry place. Also, don’t make a pile of seeds, spread them out thinly on paper towels or something similar.
Properly dried seeds will show basically no flexibility. Beans and peas will be rock hard, and larger seeds will not bend. Obviously, larger seeds need more time to dry than smaller seeds.
If you live in an area with high humidity, then you will probably want to use a desiccant. Those little packages of silica gel that you get for free with a new pair of shoes are there for a reason: They make it so that your new shoes are not all moldy. They do the same thing for seeds, though you probably want to buy some silica gel instead of using the packages from your shoes.
Once the seeds are dry, place them in an air-tight container like a glass jar or baggie. Store them slightly below freezing, and they should be good for a very long time. Just try to think what a seed goes through before it germinates, and you can have an idea of what needs to be done to save them.
Saving and storing seeds is a long-running activity for those of us who garden and want to be self-sufficient. By properly drying and storing seeds from your garden, you can almost guarantee that you will never have to buy seeds again.
Be sure to like Middle of the Trail on Facebook for more pictures and daily updates and follow @JustinALevine for whatever it is I do on Twitter.

